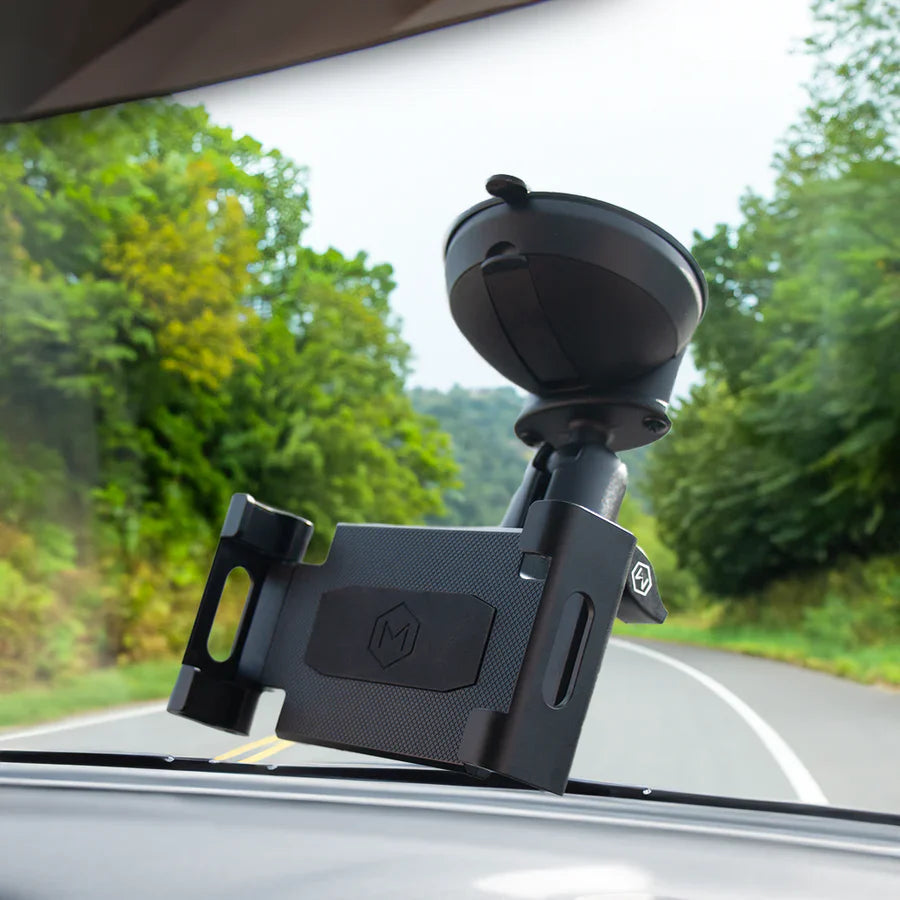
Suction mounts are incredibly useful for holding devices like GPS units, phone holders, and cameras securely in place. However, over time, dust, dirt, and grime can accumulate on the suction cup, reducing its ability to adhere properly. Cleaning your suction mount correctly will help restore its suction power and ensure a strong grip.
Here's a step-by-step guide on how to clean a suction mount effectively.

Why Cleaning is Important?
A dirty suction mount can lose its grip due to dust, oil, and moisture buildup. This can cause the mount to fall off unexpectedly, risking damage to your devices. Regular cleaning prevents adhesion issues and extends the lifespan of your suction mount.
Step-by-Step Cleaning Guide
1. Remove the Suction Mount
Before cleaning, detach the suction mount from the surface it's attached to. Do this carefully to avoid damaging the mount or the surface.
2. Rinse with Warm Water
Hold the suction cup under warm running water to remove loose dust and debris. Warm water helps break down any light grime or dirt stuck on the cup.
3. Use Mild Soap or Dishwashing Liquid
Apply a small amount of mild soap or dishwashing liquid to the suction cup. Gently rub the surface using your fingers or a soft cloth to remove any stubborn dirt, grease, or oil residue.
4. Scrub Lightly if Needed
For tougher grime, use a soft-bristled toothbrush or sponge to gently scrub the suction cup. Avoid using abrasive materials that might scratch or damage the surface.
5. Rinse Thoroughly
After scrubbing, rinse the suction cup thoroughly under warm water to remove any soap residue. Leftover soap can leave a film that reduces suction effectiveness.
6. Let it Air Dry Completely
Shake off excess water and let the suction mount air dry completely before reattaching it. Placing it on a clean, lint-free cloth can speed up the drying process. Avoid using paper towels, as they can leave fibers on the suction cup.
7. Check for Sticky Residue (Optional)
Some suction mounts have a sticky gel layer that helps improve adhesion. If your mount has this feature, avoid excessive scrubbing, as it may wear off the stickiness. If the layer has lost its tackiness, rinsing it with warm water can sometimes reactivate its adhesive properties.
Reattaching the Suction Mount
Once the suction cup is completely dry, follow these tips to ensure a strong hold when reattaching:
-
Clean the Surface: Wipe down the surface where you will place the suction mount with a damp cloth to remove any dust, oil, or residue.
-
Apply a Small Amount of Moisture: Lightly dampen the suction cup with water before pressing it onto the surface. This helps create a tighter seal.
-
Press Firmly: Push the suction cup firmly against the surface and hold it for a few seconds to remove air bubbles and ensure a strong grip.
-
Test the Hold: Gently tug on the suction mount to make sure it's securely in place before attaching your device.
Additional Tips for Maintaining Your Suction Mount
-
Clean Regularly: Make cleaning your suction mount a habit, especially if you notice it losing grip.
-
Avoid Extreme Temperatures: Heat and cold can affect the suction cup’s flexibility and adhesion. Try to avoid leaving it in direct sunlight or freezing temperatures for extended periods.
-
Store Properly: If not in use, store the suction mount in a clean and dust-free place to prevent debris buildup.
-
Replace if Necessary: If cleaning no longer restores the suction power, consider replacing the mount, as the suction cup may have worn out over time.
By following these simple steps, you can keep your suction mount clean and functioning optimally, ensuring a secure hold for your devices every time.
Share:
Will an iPhone 16e Fit in an iPhone 15 Case? A Detailed Comparison
How to Make Samsung Phones MagSafe Compatible?